

This has been an idea of mine that I have wanted to build ever since forgetting a combo for one of my locks. Yes I know there are ways to limit the amount of combinations down to a manageable amount, but what fun is that?
Tools Used:
- 3D printer - I have an old modified Maker select
- Cheap Hobby File Set
- Hatchbox PLA filament (my preferred filament)
- Soldering Iron - I really like the cordless version from Hakko
- Allen wrench - 2.5mm (optional)
Materials Used:
- Masterlock combination lock (If you don't have one and want to buy a cheap $3 one)
- Jumper wires
- OLED I2C Display Module
- ELEGOO UNO R3 Board ATmega328P
- MG996R 55g Metal Gear Torque Digital Servo Motor
- 3 buttons/switches (If you dont have these on hand, here is an assortment package.)
- 2x 10k resistors (More resistors than you will ever need here.)
- Perf Board or any bread board
- Cheap stepper motor with driver
- 2x m3 hex bolt and nut - Great variety pack
Files:
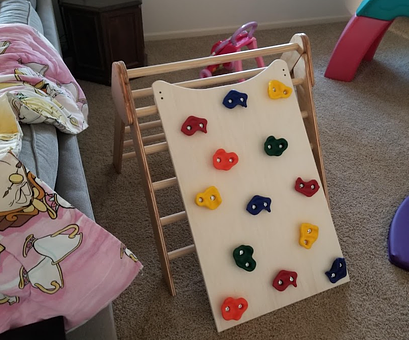
Very first prototype from years ago that was more or less a fail do to lack of programming/design/building skills
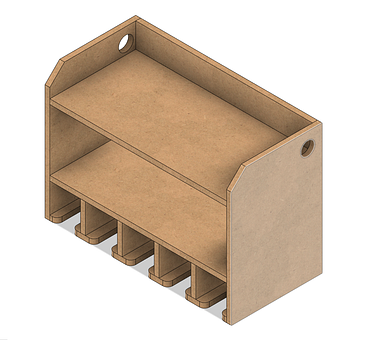
New successful end product
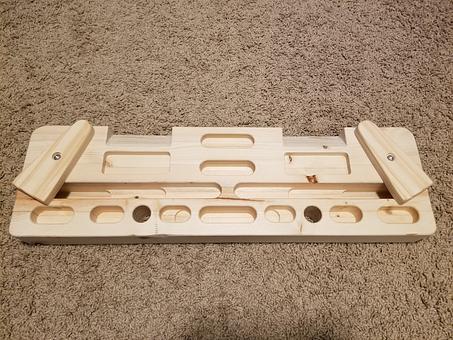
Opening a lock
Perfboard
How to use
After wiring it all up and starting the Arduino, use the right button switch to move the combo until it is on 0. Once there, you will click the other switch to start the decombination. The LCD screen should show which combo it is trying and display the last combo tried if it opens the lock.
Circuit
Code
#include <Stepper.h>
#include <math.h>
#include <Servo.h>

#include <Wire.h>
#include <Adafruit_GFX.h>
#include <Adafruit_SSD1306.h>
// Needed for uint8_t
#include <stdint.h>

#define SCREEN_WIDTH 128 // OLED display width, in pixels
#define SCREEN_HEIGHT 32 // OLED display height, in pixels
// Declaration for an SSD1306 display connected to I2C (SDA, SCL pins)
#define OLED_RESET     -1 // Reset pin # (or -1 if sharing Arduino reset pin)
#define SCREEN_ADDRESS 0x3C ///< See datasheet for Address; 0x3D for 128x64, 0x3C for 128x32

Adafruit_SSD1306 display(SCREEN_WIDTH, SCREEN_HEIGHT, &Wire, OLED_RESET);

const int stepsPerRevolution = 2038;
const int rpm = 12;
const int servoPin = 6;
const int buttonPin = 4;     // the number of the pushbutton pin
const int startButtonPin = 3;     // the number of the pushbutton pin
const int unlockButton = 2; // the number of the pushbutton pin

const float stn = 50.95;   // how many steps equal one number on a 40 number combo (2038/40)
// variables will change:
int buttonState = 0;         // variable for reading the pushbutton status
bool startButtonDebounce = false;
bool comboFound = false;
// Create a variable to store the servo position:
int angle = 0;
// used to get back to 0 after each combination to avoid error creep
int stepsFromZero = 0;
uint8_t currentCombo[3] = {0, 0, 0};

Servo myservo;
Stepper stepper1 = Stepper(stepsPerRevolution, 8, 10, 9, 11);


void setup() {
  pinMode(unlockButton, INPUT_PULLUP);
  digitalWrite(unlockButton, HIGH);
  attachInterrupt(digitalPinToInterrupt(unlockButton), codeFound, CHANGE); // trigger when button pressed, but not when released.

  stepper1.setSpeed(rpm);
  myservo.attach(servoPin);
  // SSD1306_SWITCHCAPVCC = generate display voltage from 3.3V internally
  if (!display.begin(SSD1306_SWITCHCAPVCC, 0x3C)) {
    Serial.println(F("SSD1306 allocation failed"));
    for (;;); // Don't proceed, loop forever
  }
  // initialize the pushbutton pin as an input:
  pinMode(buttonPin, INPUT);
  pinMode(startButtonPin, INPUT);
  Serial.begin(9600);
  myservo.write(0);
  Serial.println("Program started!");
}

void loop() {

  display.clearDisplay();
  display.setTextSize(1);          // text size
  display.setTextColor(SSD1306_WHITE);     // text color
  display.setCursor(10, 10);        // position to display
  display.println("Hello World!"); // text to display
  display.display();               // show on OLED

  if (digitalRead(startButtonPin) == HIGH && startButtonDebounce == false) {
    startButtonDebounce = true; // toggle button debounce
    Serial.println("Button Pressed");

    for (uint8_t thirdNumber = 0; thirdNumber < 40; thirdNumber++) {
      Serial.println("first for loop");
      // [Fordi]: I noticed this pattern in the original array, but
      // since I don't know the reasoning for the array, I can't really
      // explain _why_ the pattern is like this.  I assume it has something
      // to do with how Master locks mechanicals work?
      uint8_t firstNumber = thirdNumber % 4;
      uint8_t secondNumber = firstNumber + 2;
      uint8_t ogSecondNumber = secondNumber;
      Serial.println(String(firstNumber) + "-" + String(secondNumber) + "-" + String(thirdNumber));

      while (firstNumber < 40) {
        while (secondNumber < 40) {
          Serial.println("decombo:");
          Serial.println(String(firstNumber) + "-" + String(secondNumber) + "-" + String(thirdNumber));
          Serial.println("-----");
          decombo(firstNumber, secondNumber, thirdNumber);
          secondNumber = secondNumber + 4;
        }
        firstNumber = firstNumber + 4;
        secondNumber = ogSecondNumber;
      }
    }
  }
  // this will prevent subsequent button presses
  if (digitalRead(startButtonPin) == LOW && startButtonDebounce == true) {
    startButtonDebounce = false;
  }

  // Button used to get to 0
  buttonState = digitalRead(buttonPin);
  // check if the pushbutton is pressed. If it is, the buttonState is HIGH:
  if (buttonState == HIGH) {
    // turn Stepper
    stepper1.step(-51);
    Serial.println("move 1 number right");
    delay(100);
  }

}


void decombo(
  uint8_t firstNumber,
  uint8_t secondNumber,
  uint8_t thirdNumber
) {
  currentCombo[0] = firstNumber;
  currentCombo[1] = secondNumber;
  currentCombo[2] = thirdNumber;
  display.clearDisplay();
  display.setTextSize(1);          // text size
  display.setTextColor(SSD1306_WHITE);     // text color
  display.setCursor(2, 2);        // position to display
  display.println("Attempting:"); // text to display
  display.setCursor(3, 15);        // position to display
  display.setTextSize(2);
  displayCurrentCombo();
  display.display();               // show on OLED
  delay(200);
  // turn right twice to clear lock
  //    Serial.println("resetting by turning twice to 0");
  stepper1.step(-stepsPerRevolution * 2);
  delay(200);
  // turn to first number - negative is right
  turnToNumber(firstNumber - 40);
  //turn to second number
  int a = 0;
  if (firstNumber > secondNumber ) {
    a = 40;
  }
  turnToNumber(a + (40 - (firstNumber - secondNumber )));
  //turn to third number
  if (secondNumber > thirdNumber) {
    turnToNumber(thirdNumber - secondNumber);
  }
  else {
    turnToNumber((thirdNumber - secondNumber) - 40);
  }

  // Try opening lock
  myservo.write(100);
  // Check if button pressed here
  //...TODO....
  delay(1000);
  myservo.write(10);
  delay(2000);

  // Check if combo is correct
  if (comboFound) {
    display.clearDisplay();
    display.setTextSize(1);          // text size
    display.setTextColor(SSD1306_WHITE);     // text color
    display.setCursor(2, 2);        // position to display
    display.println("Code is:"); // text to display
    display.setCursor(3, 15);        // position to display
    display.setTextSize(2);
    displayCurrentCombo();
    display.display();               // show on OLED
    exit(0);
  }

  // return to zero
  stepper1.step(-stepsFromZero);
  // reset steps from zero because we are on zero
  stepsFromZero = 0;
  delay(500);

}

void turnToNumber(int number) {
  float exactSteps = stn * number;
  int steps = round(exactSteps);
  stepsFromZero = stepsFromZero + steps;
  stepper1.step(steps);
  delay(200);
}

void displayCurrentCombo() {
  display.println(String(currentCombo[0]) + "-" + String(currentCombo[1]) + "-" + String(currentCombo[2]));
}

void codeFound() {
  Serial.println("Combo found!");
  Serial.println(String(currentCombo[0]) + "-" + String(currentCombo[1]) + "-" + String(currentCombo[2]));
  comboFound = true;
}
Github repository - Code updated 5/11/22 - thanks to /u/Fordiman to fix memory issues with some math instead of redundant lists as well as some great formatting by him on the Github repo.
Things learned/Struggles:
- Pins 2 and 3 are the only pins you can use for interrupts.
- There are 2038 steps per rev in the stepper motor I used - not 2048 like some tutorials said.
- If your stepper motor is not super strong, attempting to open the lock will sometimes move the number a half number.
- Ran into a lot of memory issues with all the combinations as a String array, I could definitely do this better but eh it works..
References:
https://jonwestfall.com/wp-content/uploads/2007/08/mlock1.pdf
https://epow0.org/~amki/car_kit/Datasheet/ELEGOO%20UNO%20R3%20Board.pdf
https://www.youtube.com/watch?v=l9Kbr8cPqOE - soldering perfboard

Comments
No comments yet — be the first to comment!
Leave a comment