
The Goal:
Official website:
https://wiki.printnc.info/en/home
If you find yourself wanting to tackle this project, I recommend reading through the whole wiki multiple times and hanging out in the discord a while before starting. Also head over to Projects by Brian YouTube channel and watch his videos, they are a huge help! It is one of the best communities that I have ever experienced. Everyone there is ready and willing to help you complete your build.
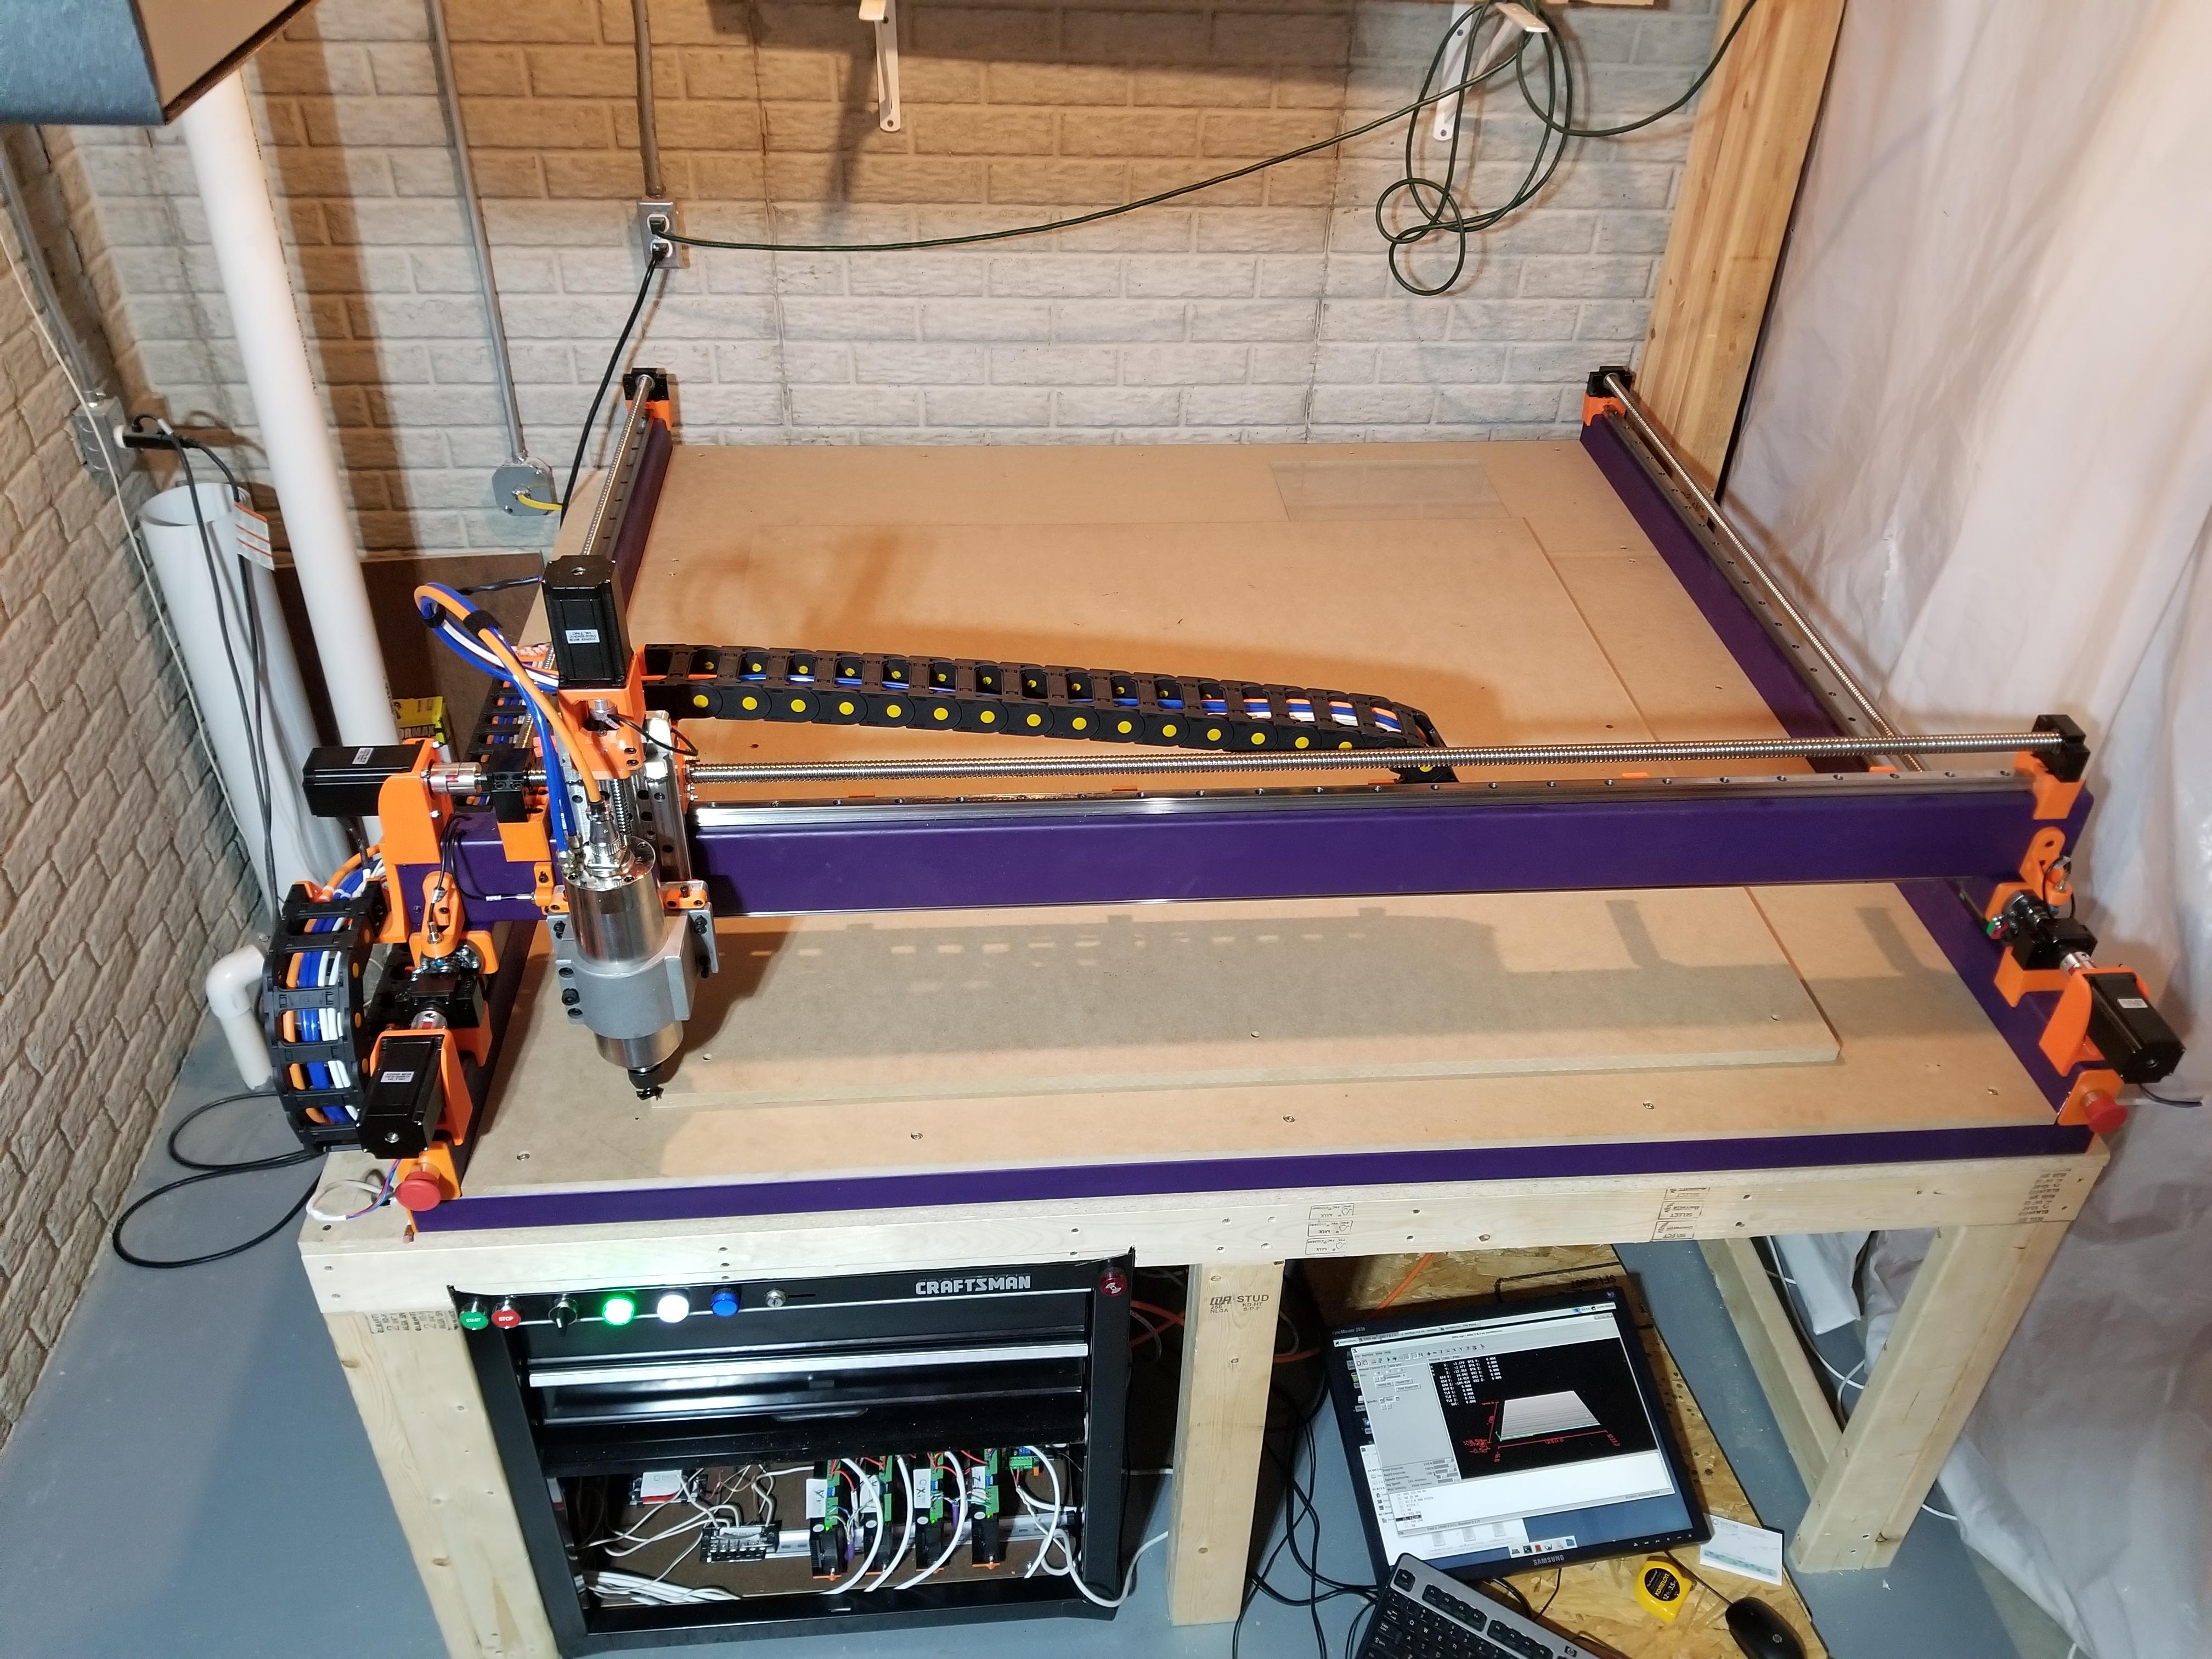
I decided I wanted an oversize build so I could fit any 4'x4' board on the machine for cutting. Using metric was easier and more planned out vs converting to imperial for this project. My cutting area I did was 1350mm by 1350mm so I would have some spare room for clamping.
There are over 300 holes I had to drill and top for this project. My advise is to go slow and take your time to think things out. My overall cost for this project was just under $3000. It can be done for much cheaper but I went for some nice upgrades in components and size.
This page lays out the exact steps needed in what order to get your cnc built and running. - https://wiki.printnc.info/en/v3/planning
I have included a list of everything I bought - Shopping List
Make sure to shop around for steel prices and verify the radius is within the requirements needed.
Rough steel bought and labeled
Radius check inside
Radius check outside
Cleaning off steel mill was next:
An angle grinder with a stripping disc worked magic.
Before on the left, After on the right, Shiny!
Laying things out upside down
Drilling setup - make sure to have good drill bits and taps
So many holes!
Delivery day!

Lining the rails up
Got a deal on this paint.
Watching paint dry
Hardware installed on Y axis
Y axis installed on X supports
Laying out X gantry
Painting setup - wooden dowel through middle
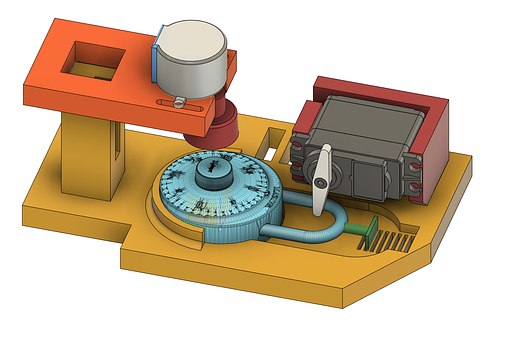
Installing Z components
Drilling spindle mount
Everything coming together
Electronics:
Laying things out - yeah this wont fit
Much better
Din rail mounts for stepper drivers
A mess!

Installed in the enclosure
Hmm I need a table!
Poof! + dog tax
Fit under the table
Moved CNC to the table. Had to remove the Z axis to remove some weight.
Wiring:
This isn't going to fit.

First cut, I dont think it is suppose to be smoking.. (I had to swap a black wire to correct the direction of the spindle)

Time for a real base board and spoil board. More bolts needed!


Getting better!
Spoilboard installed
How I trammed my spindle. 2 holes in a piece of wood and 2 bolts. Spin the wood around and it should evenly touch or not touch your spoil board.

Mods:
Water pump sensor tied to blue light on enclosure. When the spindle turns on, it triggers the relay for the water pump. When water is flowing this sensor will trigger a relay for the blue light on the front of the enclosure.
Dust shoe
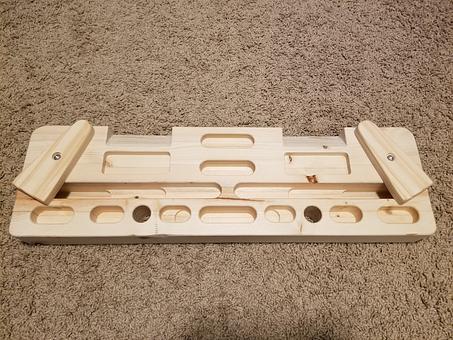
Tool Height Setter
Keyboard and Monitor tray
Comments
No comments yet — be the first to comment!
Leave a comment